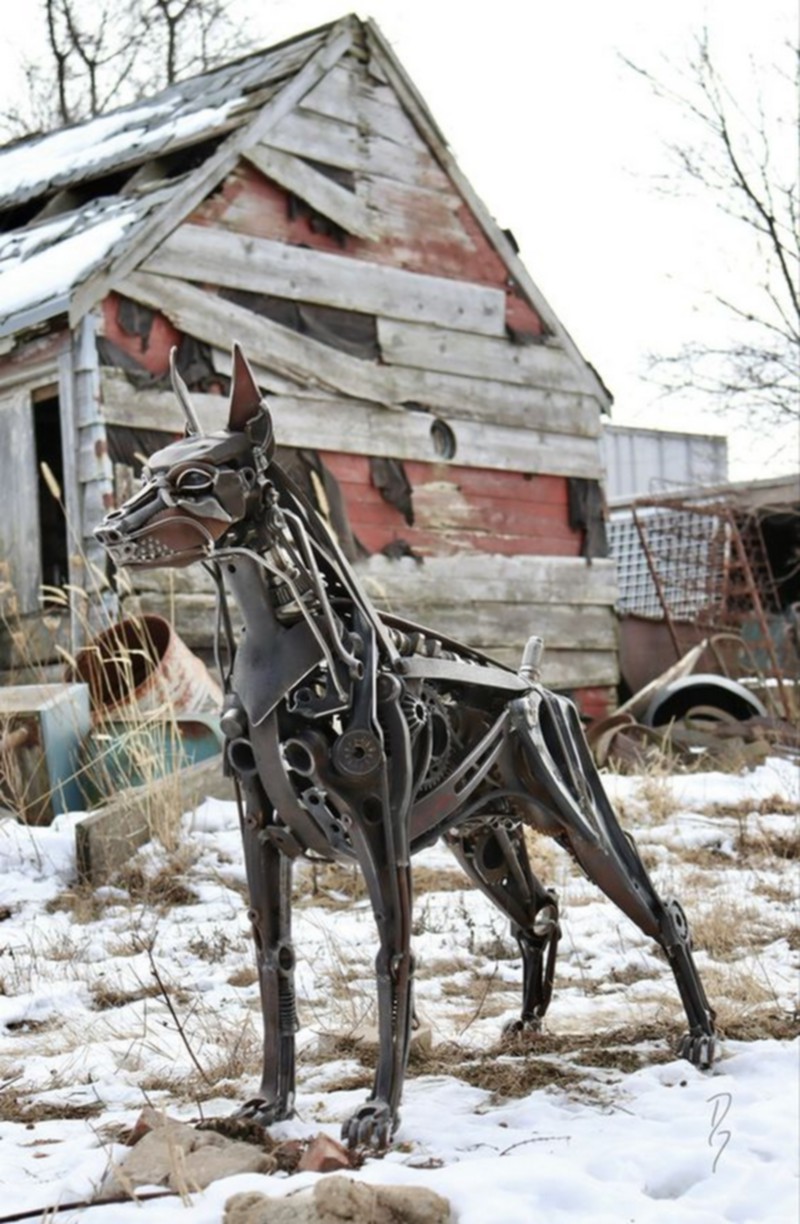
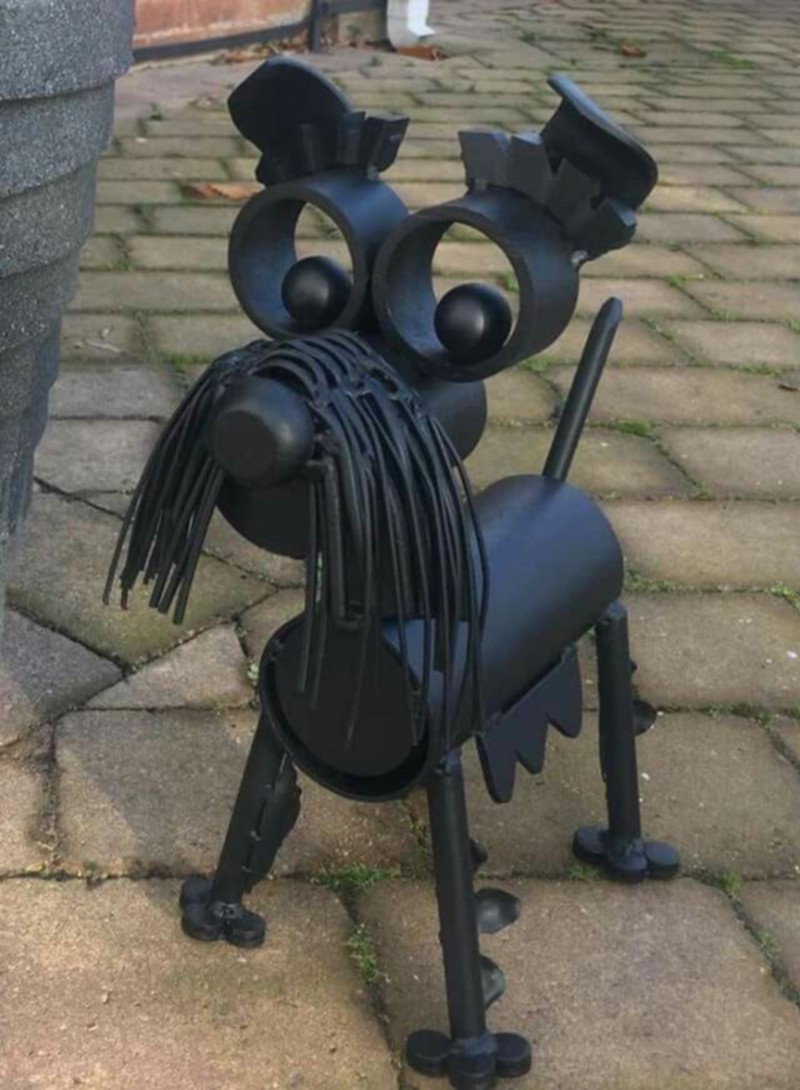
For individuals who are interested in producing their own metal artwork, DIY scrap metal art craft sculptures may be a gratifying and enjoyable undertaking. You will want some simple equipment, like pliers, wire cutters, a hammer, and a saw, to get started.
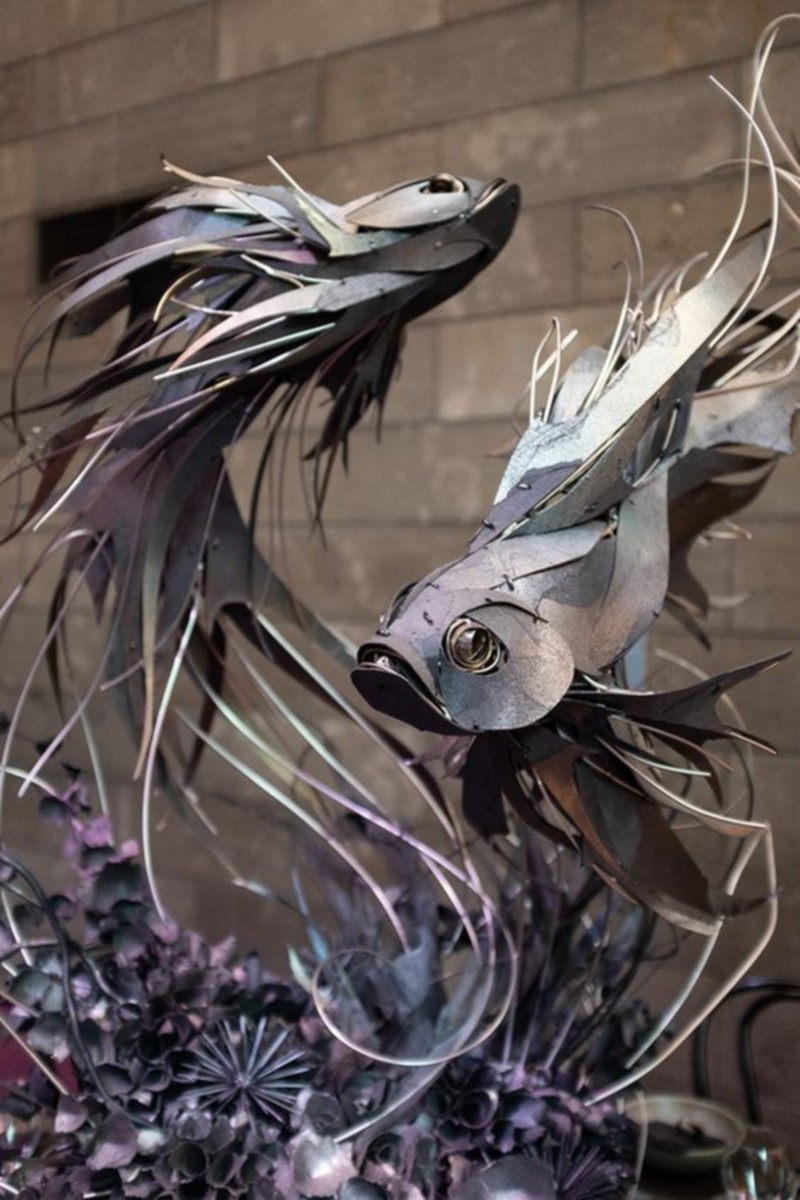
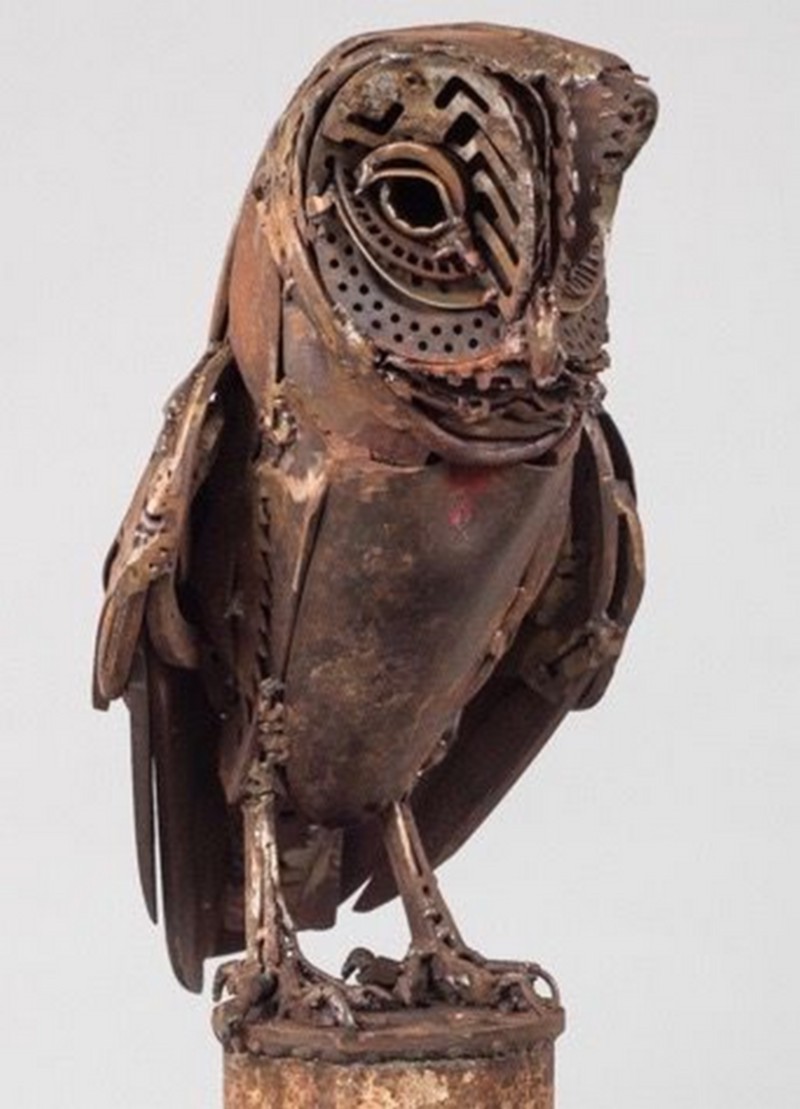
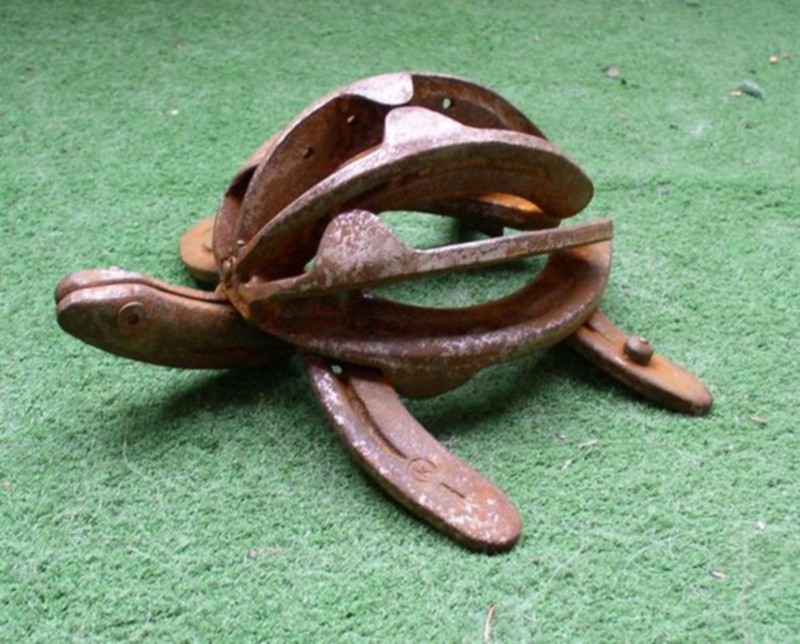
Because scrap metal has distinctive patinas, textures, and forms that may give the completed item character and intrigue, using it allows the artist a great deal of creative license.
Here are some steps to follow to create your own scrap metal art craft sculpture:
Gather your materials:
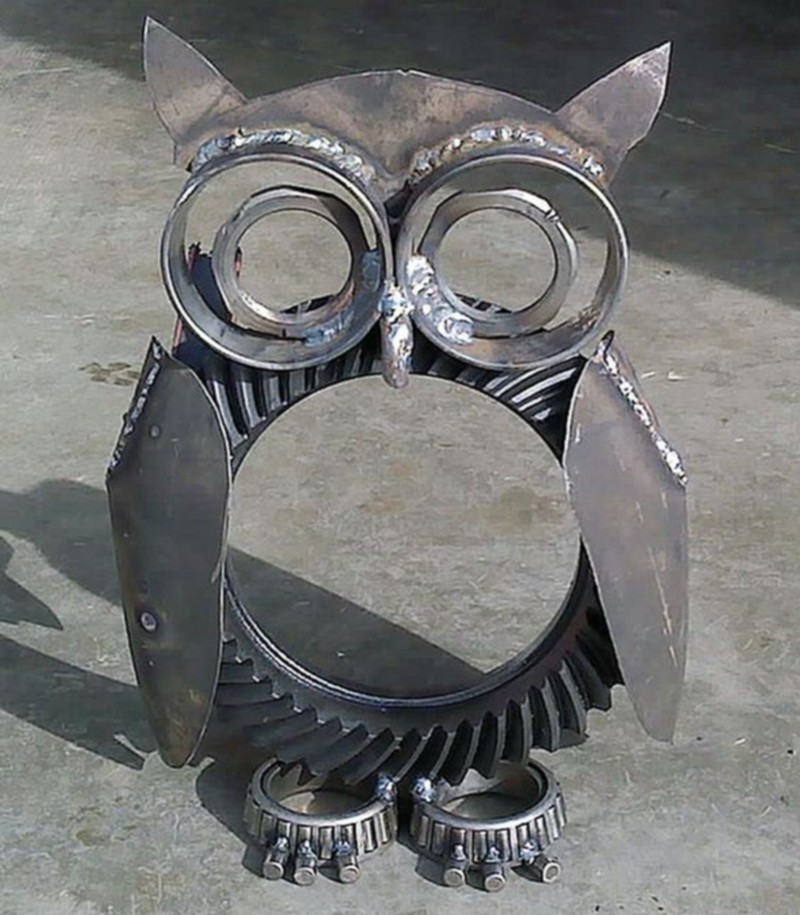
- Collect a variety of scrap metal pieces that you can use to create your sculpture. Look for interesting shapes, textures, and patinas to add character to your piece.
- Sketch your design: Before you begin working with the metal, sketch out your sculpture design on paper. This will give you an idea of what your finished piece will look like and help you plan out how you will use your materials.
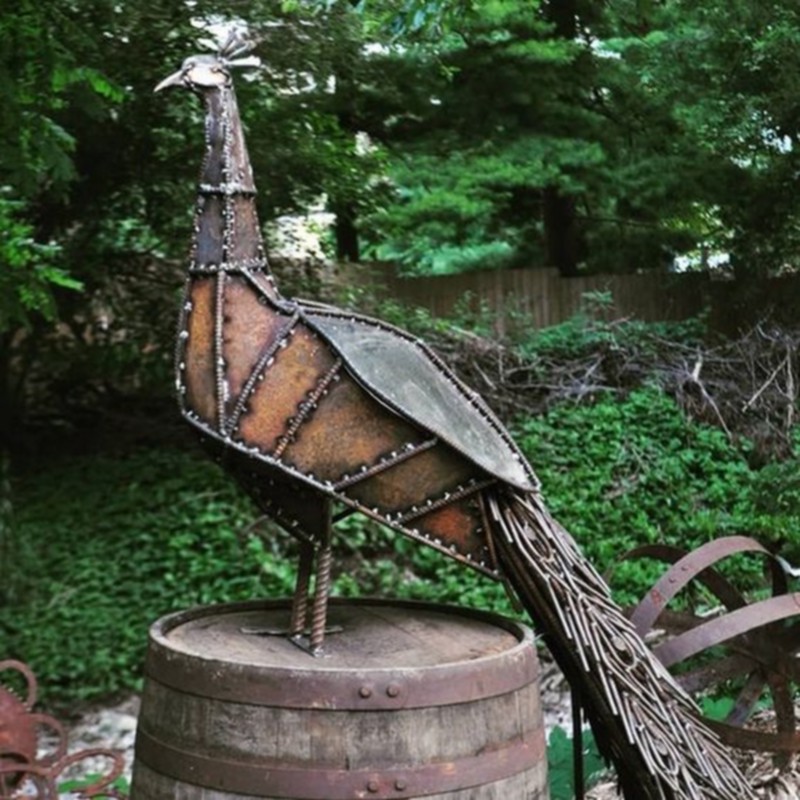
- Start shaping the metal: Using your pliers and wire cutters, start shaping your scrap metal pieces into the shapes you need for your sculpture. You can bend, twist, and cut the metal as needed to achieve the desired shapes.
- A scrap metal shark wall hanging, created using jagged metal pieces for the fins and teeth and a metal frame for the body.
Assemble the sculpture:
- Begin assembling your sculpture by attaching the different metal pieces together using wire or small screws. You can also use a welding torch to fuse the metal pieces together if you have access to one.
Finish the sculpture:
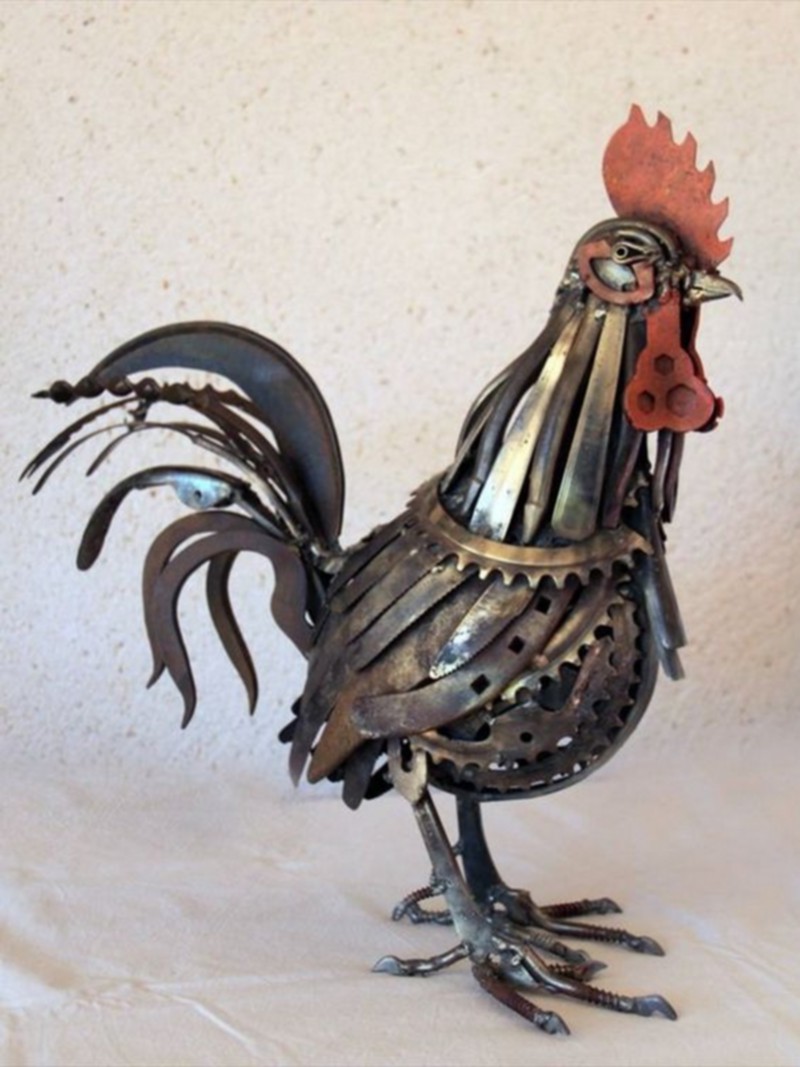
- Once your sculpture is assembled, you can use a wire brush or steel wool to smooth out any rough edges or surfaces. You can also paint or patina the metal for added interest.
Remember that safety is important when working with metal, so make sure to wear gloves and safety goggles and use caution when handling sharp edges and heated metal.
With a bit of creativity, patience and proper tools you can create a unique and interesting piece of art that can be displayed in your home or garden.